


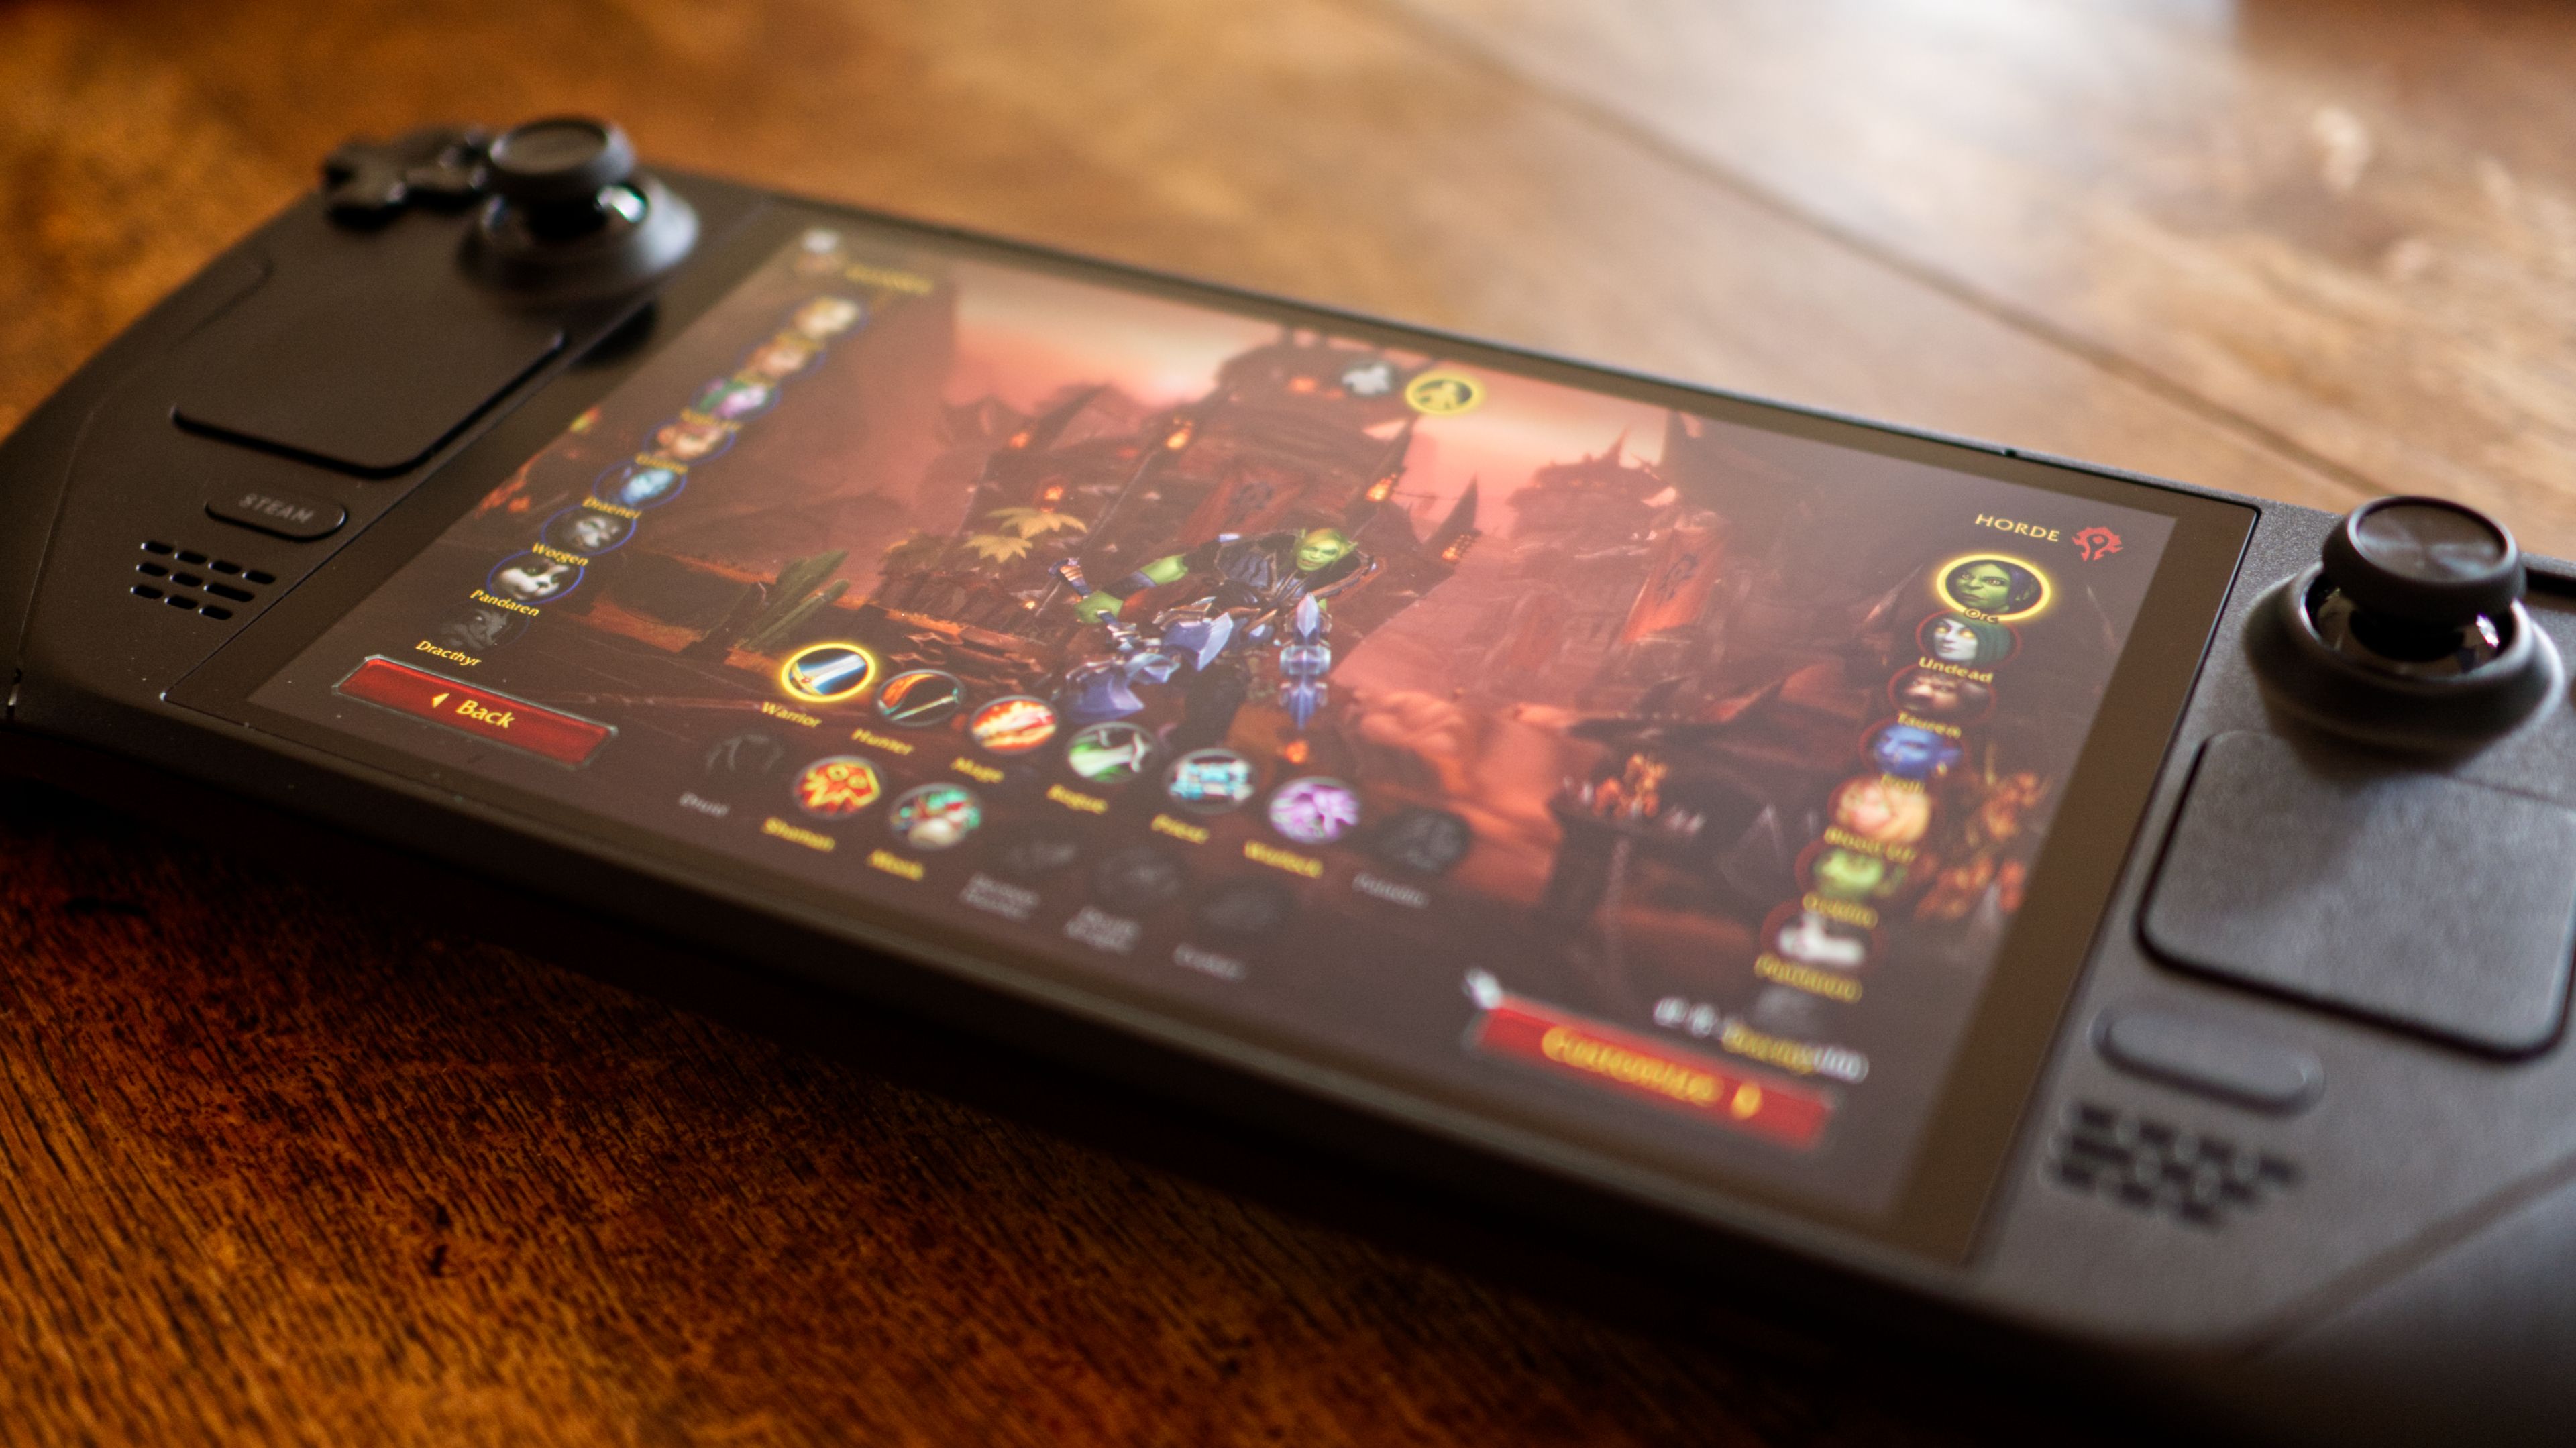
World of Warcraft is still a massively popular, massively multiplayer game. Even though it’s not on Steam, you can still play it on your Steam Deck and there’s even a handy mod to adapt the game for a controller layout.
Your Rating
World of Warcraft

- Released
- November 23, 2004
- ESRB
- T for Teen: Blood and Gore, Crude Humor, Mild Language, Suggestive Themes, Use of Alcohol, Violence (online interactions not rated)
- Developer(s)
- Blizzard
- Publisher(s)
- Blizzard
WHERE TO PLAY
Before We Begin
The process below may seem quite long and drawn out, but it's fairly straightforward in that it mostly involves clicking buttons, checking boxes, and waiting for things to download and install. One thing that will make life a lot easier is if you use a physical mouse and keyboard in your Steam Deck’s Linux desktop environment.
You can do this by connecting a physical mouse and keyboard to your Steam Deck via USB-C (I recommend a USB-C hub), by using a wireless dongle or Bluetooth connection (paired via Desktop Mode’s System Settings) or by making use of a virtual KVM to share your existing computer’s mouse and keyboard. I used the latter, and it allowed me to type in passwords and use my MacBook’s larger trackpad, while dictating notes in macOS for the purpose of this guide.
How to Control Your Steam Deck from a Mac, Windows, or Linux PC
Tired of trackpads and on-screen keyboards? There's a better way.
Of course, there's nothing wrong with using the touchpad and on-screen keyboard if you have to. Hit Steam+X to bring the keyboard up at any point, and use the right trackpad or hold the Steam button and use the right analog stick to move the cursor. The right trigger acts as a left mouse button, while the left acts as the right.
By the time we’ve finished, you will have a version of World of Warcraft that you can play in relative comfort using your Steam Deck’s console-like interface.
First Install Battle.net via NonSteamLaunchers
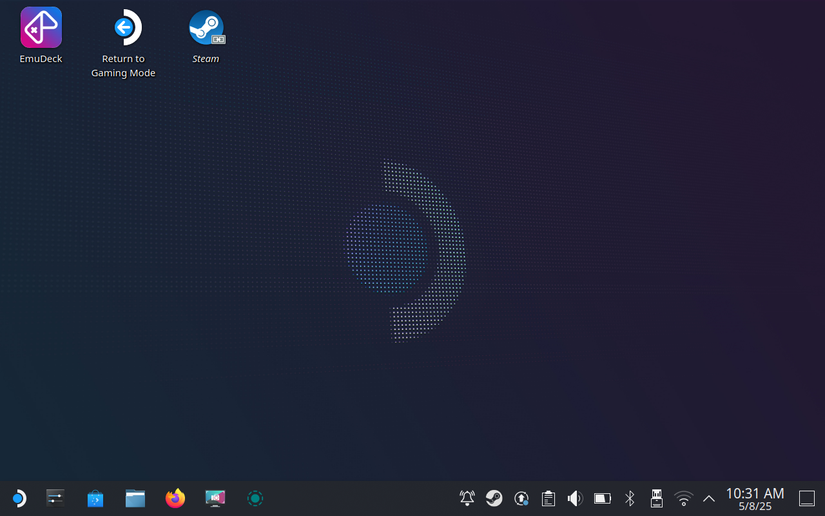
We’ll be using a project called NonSteamLaunchers to install Blizzard’s Battle.net client on your Steam Deck. You’ll need to use this client to download, update, and eventually play World of Warcraft. This all takes place in Desktop Mode, so if your Deck is in Game Mode press and hold the “Power” button and select “Switch to Desktop.”
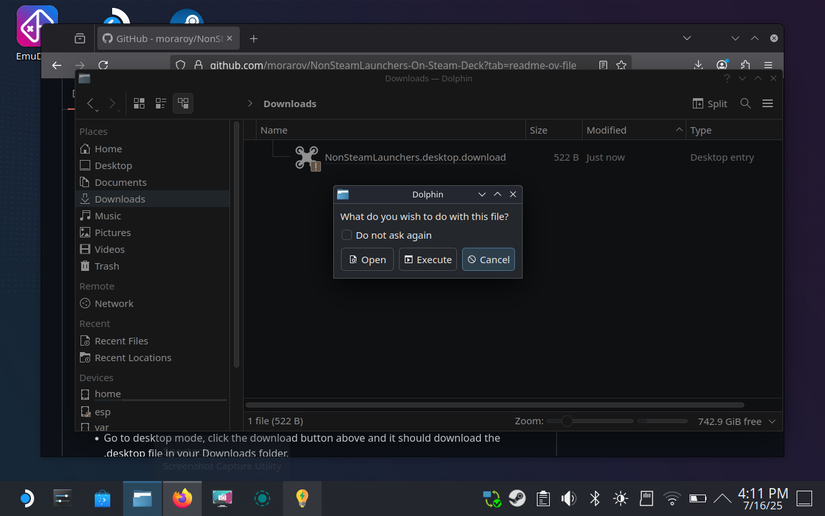
Head to the NonSteamLaunchers GitHub page and download the latest “Desktop” version of the script. It’s a “.desktop” file download that you’ll find in your Downloads folder once complete. There’s also a Decky plugin, if you happen to use that.
Now double-click on the file that you just downloaded, choose “Execute” and agree to the warning. The NonSteamLaunchers installer will now launch, and you’ll see a long list of launchers appear in the upper pane. “Battle.net” is the launcher you need to install, select it along with any others you might like. Don’t worry, you can always repeat this process later for other launchers.
You’ll want to keep SteamOS awake for the duration of this next bit, so wiggle the mouse every now and again or download an app called Stimulator from the Discover store.
Now click OK and wait for your changes to be applied. You’ll see a window appear that says it’s “Detecting, Updating and Installing” followed by whatever the script is currently processing. Eventually, this will say “Battle.net”—just let it do its thing.

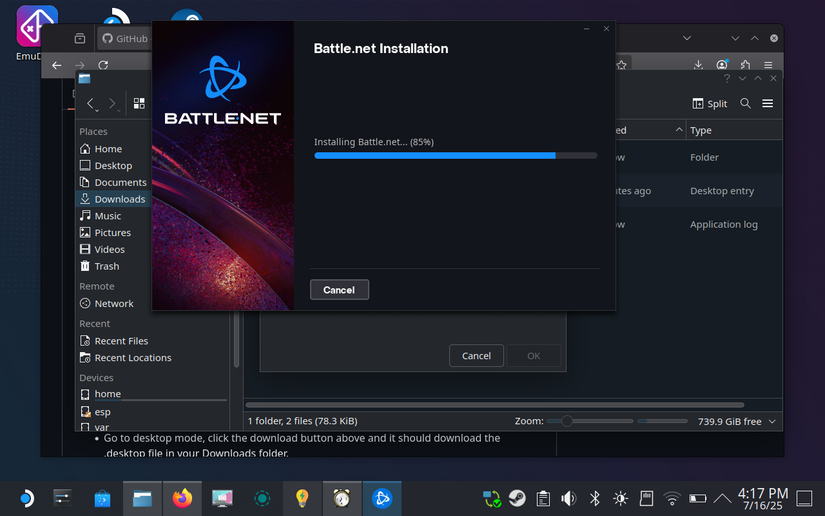
At some point, you’ll see the Battle.net installer appear but you won’t need to interact with it at all. Let it install automatically and sit tight. The NonSteamLaunchers installer will tidy up any leftover installer files and then add your launchers to your Steam library automatically, as Non-Steam Games.
Keep an eye out for a small Steam pop-up when things are drawing to a close. Once everything is complete, it's time to switch back to Game Mode.
Log In and Set Up Battle.net
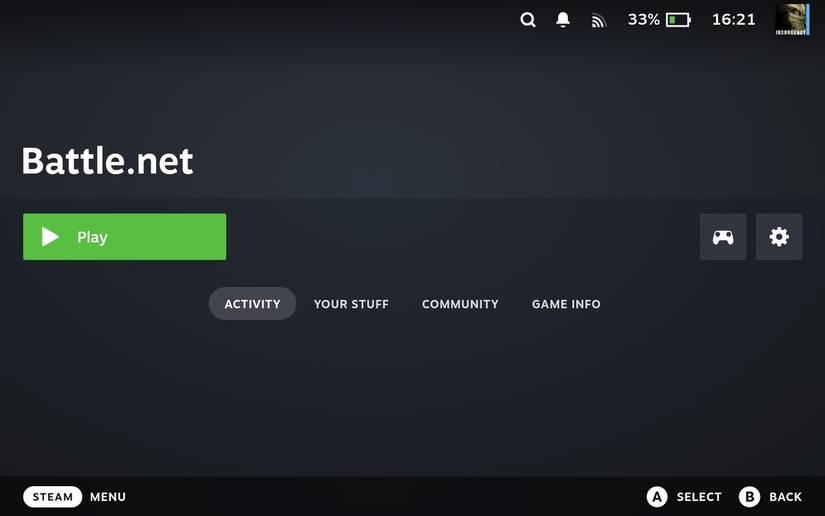
Back in Game Mode, press the “Steam” button and select “Library” to see your games. You’ll find “Battle.net” under the “Non-Steam Games” section of your library. Select it, then hit “Play” to run it.
Now hit the “Steam” button immediately, then go to “Controller Settings” and select the “Controller settings” button at the bottom of the screen. Choose the “Keyboard (WASD) and Mouse” option, then hit X to apply it. You can now use the right trackpad as a mouse input to interact with the launcher.
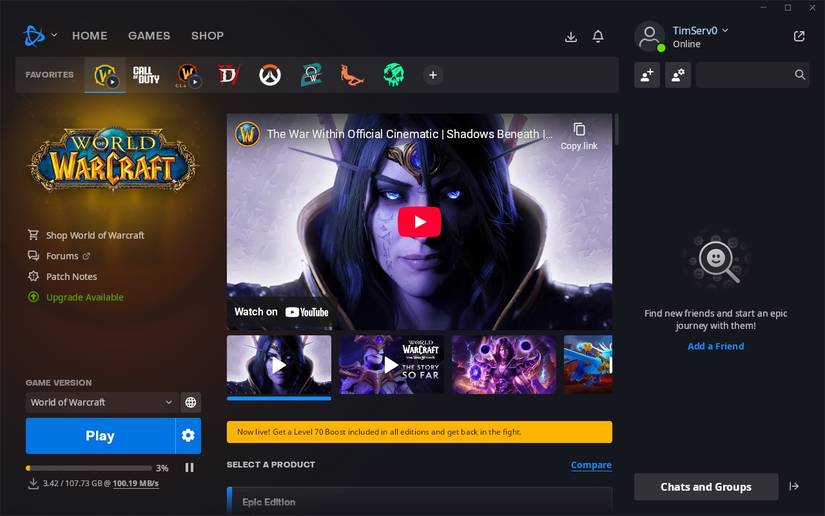
Resume and you’ll be prompted to log in with your Battle.net credentials. If you don’t have one, I’d recommend using a proper web browser to create one (things are pretty janky when attempting to do this within the launcher on the Steam Deck, best just use a PC or your Deck’s proper browser in Desktop Mode).
Once logged in, the application will say that no games could be found on your system, but we’re about to fix that. Click “Done” and the launcher will load properly.
Install World of Warcraft
Now it’s time to install WoW as you would on any PC. Navigate Blizzard’s launcher and find World of Warcraft (there’s a shortcut you can use at the top). If you’ve not played before, you can install the game along with a free trial up to level 20.
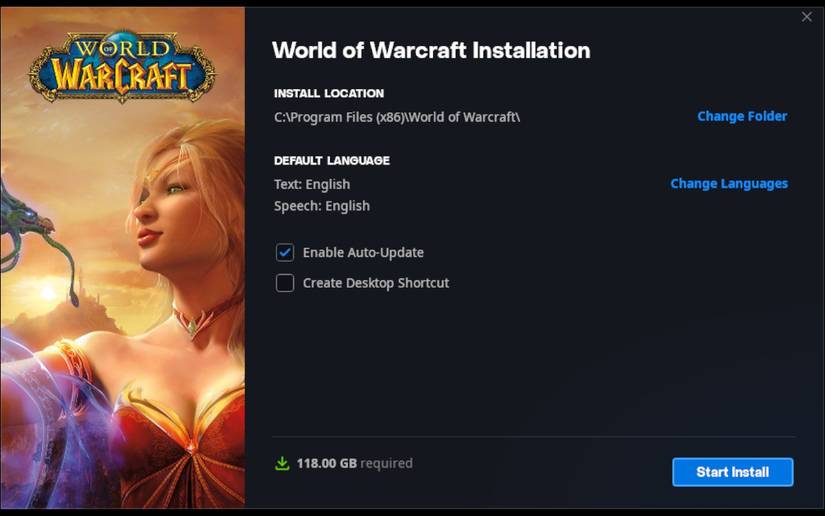
Click “Install” and leave the installation directory as the default. WoW will begin downloading. You’ll need around 110GB free (at the time of writing) to complete the installation. The game will install to your internal storage, though you can use NonSteamLaunchers to move things to a microSD card if you’d rather.
Wait for WoW to install. You’ll know it’s ready when you see the big blue “Play” button—but it’s not quite time to play yet.
Install CurseForge and ConsolePort
CurseForge is a mod manager for World of Warcraft and other games. ConsolePort is an add-on that makes playing WoW with a controller a more pleasant experience. You don’t need either of these, but they help (and once you’ve set up CurseForge you can install other mods too).
Quit Battle.net, then press and hold the “Power” button and select “Switch to Desktop.” Once the Linux desktop environment has loaded, it’s time for the most tedious part of the whole process—locating your installation directory. Since Steam uses Proton to install Windows apps in a virtualized environment on Windows, you need to hunt down the right folder.
Open Dolphin (your file manager) and click the “three lines” icon in the top-right corner, then make sure that “Show Hidden Files” is enabled. Now navigate to the /home/.local/share/Steam/steamapps/compatdata folder.
From here, you’ll need to find your WoW installation directory. To do this, peek into each of the numbered directories until you find the right one. It will be one of the most recently modified ones, so sort by “Modified” and start looking. You’ll need to look in the relevant /pfx/drive_c/Program Files (x86)/ folder until you find the “World of Warcraft” directory.
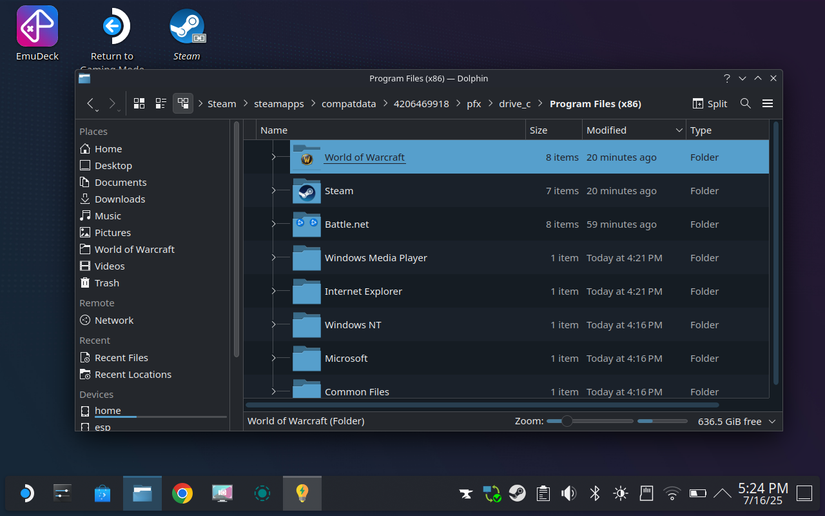
For example, mine was located in /home/deck/.local/share/Steam/steamapps/compatdata/4206469918/pfx/drive_c/Program Files (x86)/World of Warcraft.
Once you’ve got it, drag it into your Dolphin sidebar next to your other bookmarks (like Home, Desktop, and so on). Make sure you don’t move or copy it, just drag it (you’ll see a “line” appear beneath your cursor when you’re in the right spot).
Now head to the CurseForge download page and download the Linux-appropriate “AppImage” version of the app. Find the file in your Downloads folder and then move it somewhere safe so you can access it in the future if you need to (I stuck it in Documents).
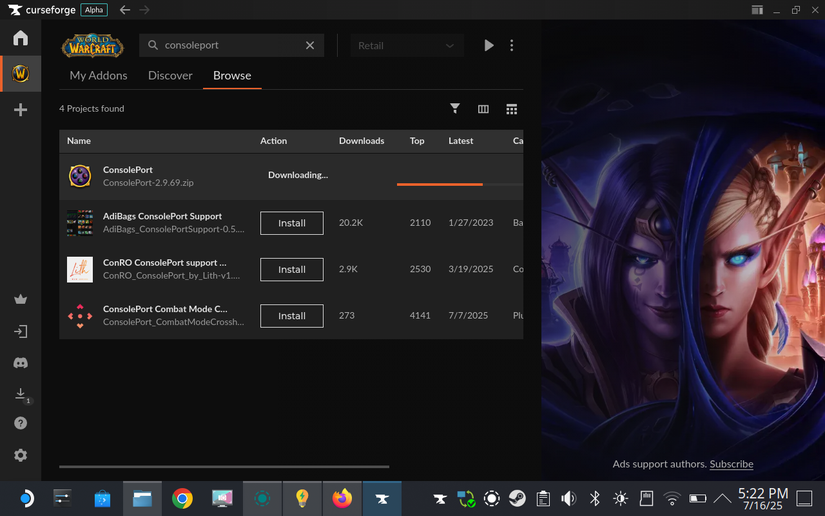
Now double click on the CurseForce AppImage file to run it and click “Execute.” You can “Continue As Guest” unless you want to log in. Click the “plus” icon in the sidebar, followed by “Manually Add a Game.”
Now, right-click anywhere in the file browser and ensure “Show Hidden Folders” is enabled. Click on the “World of Warcraft” shortcut you just made next to your other frequently-accessed locations, make sure the correct folder is selected, and click OK.

You should see a pop-up notifying you that World of Warcraft is now tracked. Click on the game, then use the button to scan your add-ons folder. The launcher will report that you don’t have any, which is good. At the top of the WoW section in CurseForce, search for “consoleport” and click Install. The mod will now be installed.
Congratulations! You’re done.
Now Play Some WoW
Back in Game Mode, launch Battle.net in from your library, then find WoW and click play. If you’re new, you’ll need to pick a region, join a server, and create a character. You can limp through using the right trackpad as a mouse.
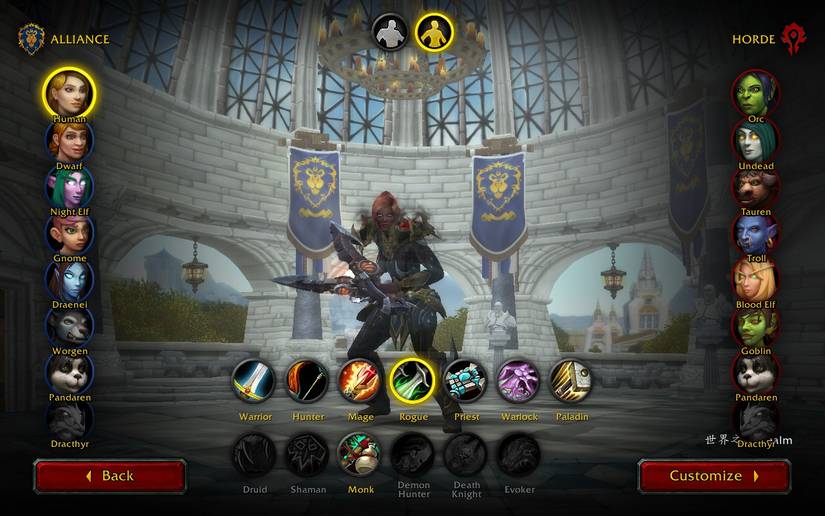
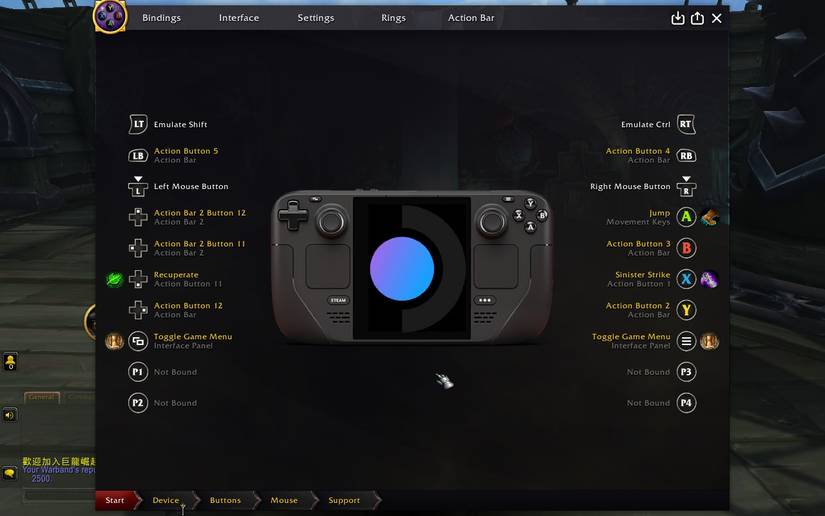
Once you get into WoW proper, you’ll see the ConsolePort setup window appear. It will invite you to pick your device (of which the Steam Deck is listed) and give you all manner of options to tweak and fiddle with. You can also dive into the game options to adjust the bindings to your liking.
Having problems getting Battle.net running? Make sure you download GE-Proton. To do this, grab the ProtonUp-Qt app from the Discover store, download the latest version of GE-Proton, and restart your Deck. Now find Battle.net in your Steam library, select Properties, and force it to run in compatibility mode with the latest GE-Proton.
You’re on your own from here, happy raiding.
-
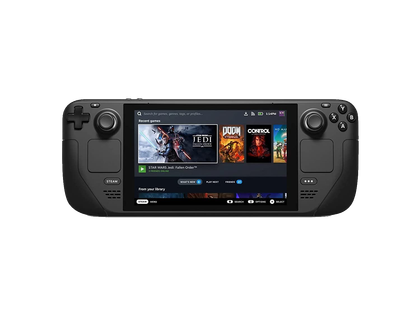
Valve Steam Deck
- Dimensions
- 298mm x 117mm x 49mm
- Weight
- Approx. 669 grams
- RAM
- 16 GB LPDDR5
- Storage
- up to 512GB
- Display
- LCD
- Playing Time
- 2-8 hours of gameplay (content-dependent)
The Steam Deck LCD is, hands down, the best budget handheld gaming PC you can get, thanks to its phenomenal price, top-notch build quality, excellent software support, and pretty solid gaming performance.
-
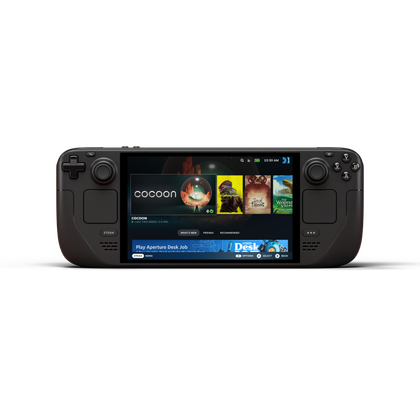
Steam Deck OLED
- Dimensions
- 298mm x 117mm x 49mm
- Weight
- 640 grams
- RAM
- 16 GB LPDDR5
- Storage
- 512GB or 1TB NVMe SSD
- Display
- OLED
- Wireless Connectivity
- Bluetooth 5.3, Wi-Fi 6E
The Steam Deck OLED is a clear improvement over Valve's original handheld console, with a larger battery, more storage, faster Wi-Fi, and more. Not to forget the bigger and better-looking OLED screen that gives the device its name.
Your comment has not been saved